Set up authentication via Azure OAuth 2.0
Procedure:
-
Register Aeneis in Microsoft Azure
-
Insert the Portal link in Azure to be able to open the Aeneis application directly from the Microsoft Portal
-
Configure Azure in Aeneis
-
Configure the user data to be read out in Aeneis
-
Configure the manifest in Azure
Register Aeneis in Microsoft Azure
To set up authentication via Azure OAuth 2.0, first register Aeneis via Microsoft Azure.
Instruction:
-
In Microsoft Azure, add a new registry under Azure Active Directory | App Registration:

-
Define and register the following properties in the registration:

-
Name of the registration entry, e.g. MyAeneis
-
Supported account types: Only accounts in this organization directory (only "intellior AG" - single client)
-
Redirect URI: https://[HOSTNAME]:[PORT]/login/oauth2/code/[ID]
Hinweis: For the redirect URI, use the ID that was assigned in the corresponding Azure authentication in the ServerAdministration.
-
HOSTNAME → Fully qualified name of the server
-
PORT → Port on which Aeneis is available (port 443 does not have to be specified)
-
-
-
To be able to open the Aeneis Portal directly in the Microsoft portal, the Portal link must be inserted in Azure. To do this, insert the Aeneis Portal link in the registered application under Authentication and save it:

-
In Azure, add an Optional claim in the registered application under Token configuration. Add the token type ID and claim upn:

Configure Azure in Aeneis
To set up authentication via Azure OAuth 2.0 in Aeneis, create and configure a new token-based authentication in the ServerAdministration.
Voraussetzung: Before configuration in Aeneis, create a new secret client key in the registered application under Certificates & Secrets in Microsoft Azure,.
Instruction:
-
Navigate to the Authentication area in the ServerAdministration and switch to the Token-based authentication tab
-
Click on Create token-based authentication:

-
Enter the following properties in the Create token-based authentication dialog:

Property
Explanation
Authentication provider Select Azure OAuth2 here. Name The name you assign here corresponds to the subsequent display name of the corresponding button in the Portal login. Tenant id
Enter the Directory ID that is stored on the Overview page of your app Registration in Entra ID.
Client id
Enter the Application ID that is stored on the Overview page of your app registration in Entra ID.
Client secret
Enter the value of the secret client key here, which you can create or renew in your app registration in Entra ID in the Certificates & secrets section.
-
In the Create token-based authentication dialog, click Create
Result:
-
The newly set up authentication appears in the table under Token-based authentication providers.

Hinweis: You can use the Edit button to make changes to the respective authentication at any time, e.g. to adjust the client secret.
-
Authentication in Aeneis via Azure is now set up. Users can now log in to the Portal via authentication by clicking on the button with the configured name. The selected authentication method is saved for 30 days, so that a new selection is only necessary after this period.

Hinweis: You can disable the login with user name and password via the Portal report registration.
Hinweis: To enable users to log in to the Portal via authentication, restart Aeneis after setup or changes.
Configure token with user name, e-mail address, groups (optional)
To read the user names (given_name) and email addresses (email) from Azure in Aeneis, configure the token in Azure.
Instructions:
-
In Azure, add an Optional claim in the registered application under Token configuration. Add token type ID and claim email.

-
Create a new group in the Aeneis UserAdministration with the following properties:
-
ID = name of the group in Azure
-
External Id = Object ID of the group in Azure
-
External service = Tenant ID (client ID) of the Azure AD
-
Is external object? = Yes
-
To identify the user's groups via the External ID of the Aeneis group, enter the following in Azure in the registered application under Manifest:

Entry
Explanation
Copy"groupMembershipClaims": "All"-
"All":
-
"SecurityGroup:
-
"DistributionList":
-
}, "directoryRole":
Copy"optionalClaims": {
"idToken": [
{
"name": "groups",
"source": null,
"essential": false,
"additionalProperties": ["sam_account_name"]
}
]
}The following can also be entered in the additionalProperties:
-
"sam_account_name"
-
"dns_domain_and_sam_account_name"
-
"netbios_domain_and_sam_account_name"
-
"emit_as_roles"
Achtung: Only the groups that are synchronized from Active Directory are found here. For groups created in Azure Active Directory or Office365, these attributes are not available. Aeneis can also only read the "sam_account_name", which is mapped with the "ID" attribute of the groups in Aeneis.
-
Result:
-
When a user is created, he/she is automatically assigned to the new groups.
-
If the user is removed from this group in Azure, he will also be removed from this group in Aeneis when he logs in again.
-
If a new group is created in Aeneis and the remote user exists in this group in Azure, he will automatically be added to this group in Aeneis when logging in again.
Set up electronic signature for transitions and acknowledgements
When you carry out transitions and acknowledgements, you can also authenticate yourself with your electronic signature. To enable electronic signatures via Azure OAuth 2.0, configure the authentication accordingly in Entra ID in your app registration.
Voraussetzung: The Show login dialog option must be activated for the respective transition. The option Show confirmation dialog for acknowledgements must be activated in the portal report for acknowledgements.
Instructions:
-
Open your app registration in Entra ID
-
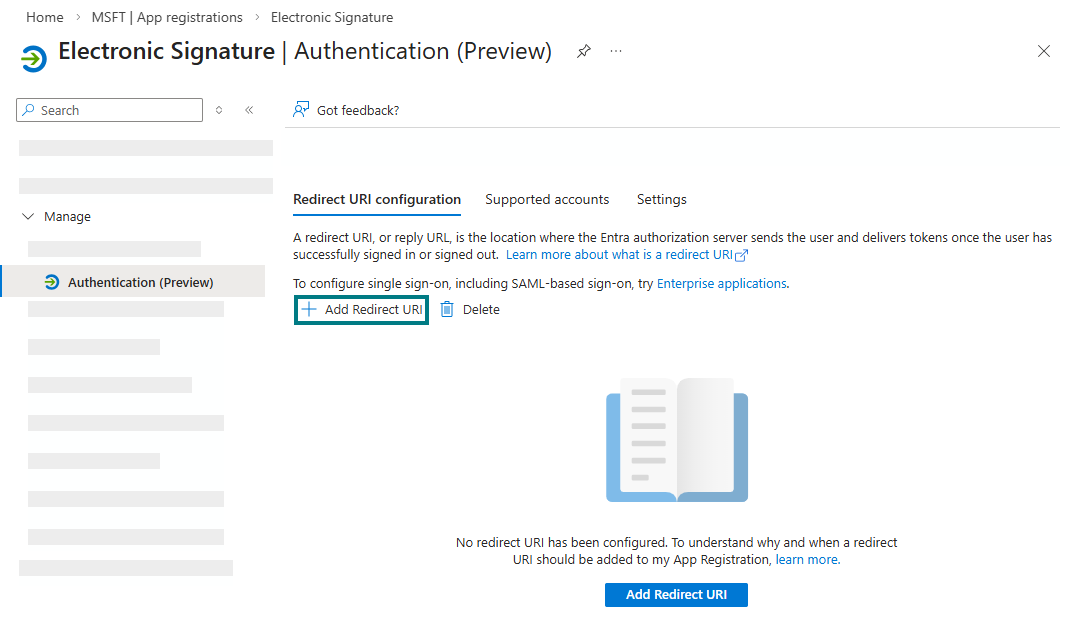
Navigate to the Authentication (Preview) area
-
Open the Redirect URI configuration tab
-
Click on Add Redirect URI:
-
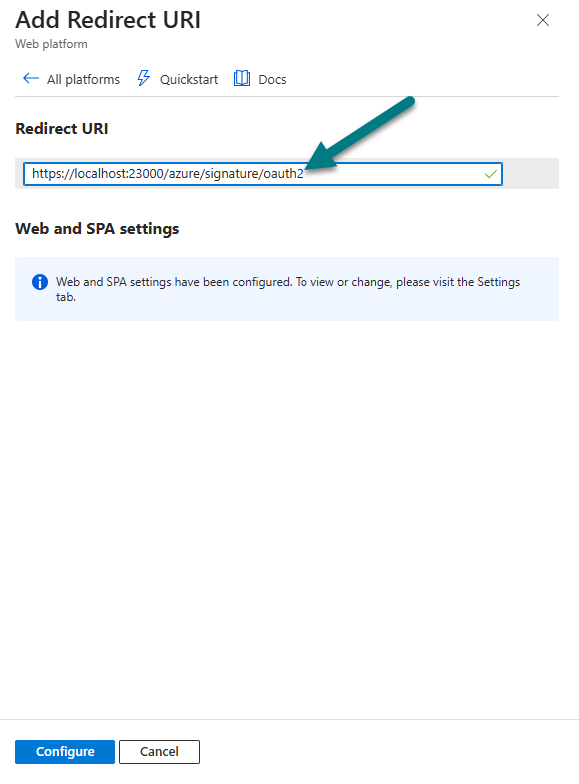
Select the platform type Web:

-
Enter the redirect URI in the following format: https://[HOSTNAME]:[PORT]/azure/signature/oauth2
-
Click on Configure in the drawer
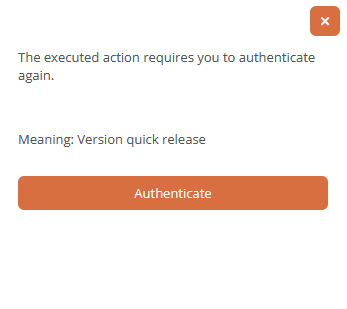
Result:
Aeneis offers you a button in the corresponding authentication dialogs that you can use to log in again and submit your electronic signature via Azure OAuth 2.0.